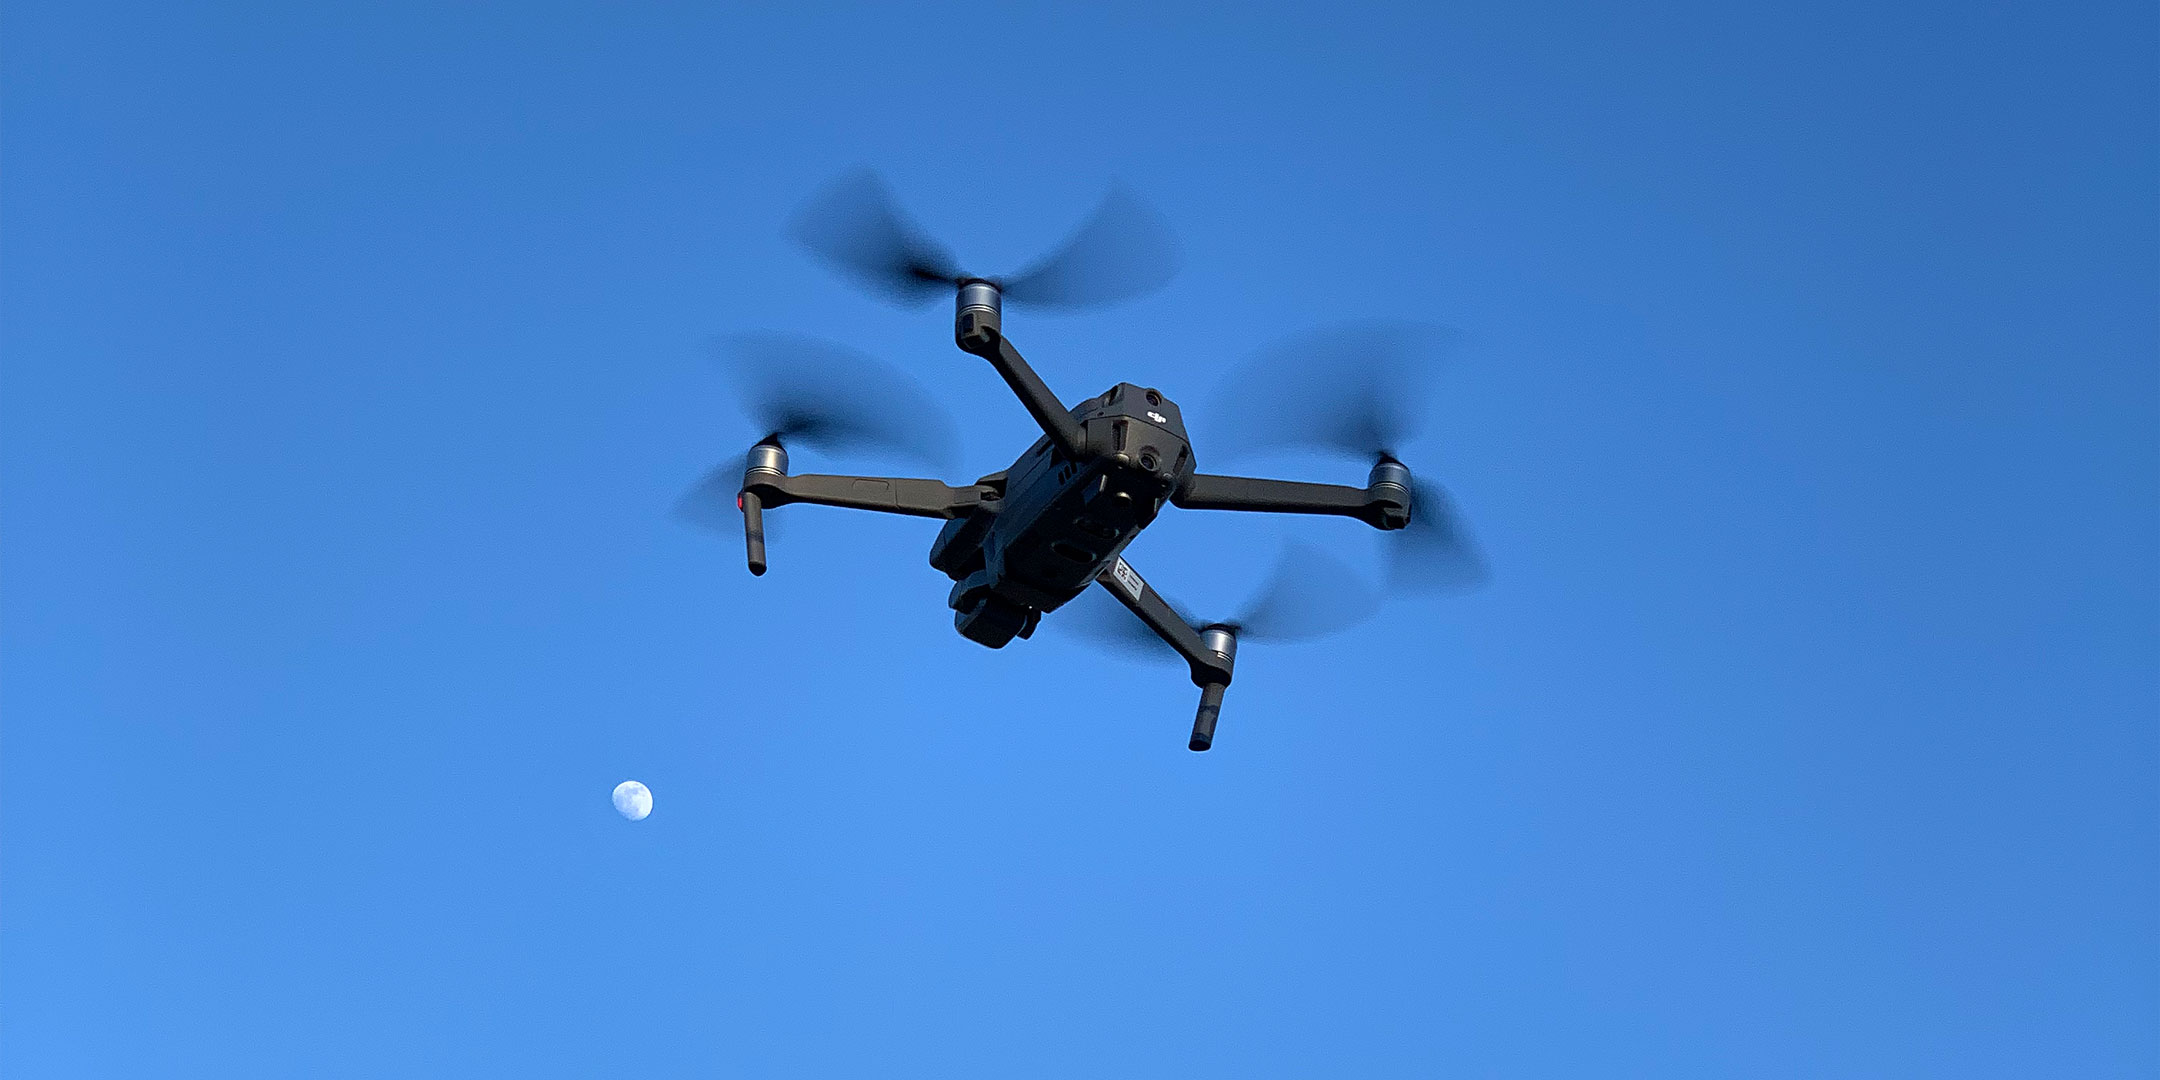
Here are a few tests I did with the DJI Mavic 2 Pro drone after receiving it in the fall of 2018. I had a Phantom 4 Pro just prior and the Mavic 2 Pro held out the promise of better video capture in a much smaller package. The Mavic 2 Pro folded is 1/10 the volume of the Phantom 4 Pro. The Mavic 2 Pro achieves this, in theory, without sacrificing image quality as both drones share a similarly spec’d sensor, 1″ in size and 20MP in resolution.
On the Phantom 4 Pro I had found that an aperture of f/2.8 was optimal, f/4.0 acceptable, and that you didn’t want to stop down further. The lens lost sharpness very quickly after f/4.0. In my ISO tests I saw that the Phantom 4 Pro was best set to ISO 100 or 200. Beyond 200 the resolution plummeted.
Now with the Mavic 2 Pro I have found that it does live up to its potential but its optics and its ISO characteristics behave differently from those of the Phantom 4 Pro. For example, the Mavic 2 Pro’s lens’s sweet spot is at f/5.6. f/4.0 is acceptable but any wider open and the corners are too soft. Stop down beyond f/5.6 and the image loses sharpness across the frame due to diffraction.
DJI Mavic 2 Pro Aperture Ramp on Vimeo and YouTube.
With ISO, the old rule of the base ISO being the highest quality still applies. ISO 100 is best and 200 is fine but on the Mavic 2 Pro you can use up to ISO 800 if needed. I should note that these findings are based on filming in Dlog-M which on the Mavic 2 Pro is 10-bit 4K H.265 capture in log form.
Some noise is visible in the Mavic 2 Pro’s ISO 400 footage, you can even see it creeping in at ISO 200, but the image resolution does not deteriorate with same speed as it does on the Phantom 4 Pro. 0n the Mavic 2 Pro you can clean up the noise found in ISO 400 and 800 footage with a plug-in like Neat Image. You will lose some detail, especially if applying to an ISO 800 clip, but depending upon the content of the clip and the clip’s context within a timeline it can work.
DJI Mavic 2 Pro ISO Ramp on Vimeo and YouTube.
In terms of still images, the same aperture and ISO guidance and caveats apply. I recommend shooting RAW DNG images and converting them in a program like Capture One Pro.
RAW image capture is far superior to the Mavic 2 Pro’s in-camera jpegs but you will need to tweak the image parameters to get there. In Capture One Pro I recommend the following as a starting point for Mavic 2 Pro RAW DNG files:
- Lens Correction set to “Generic”
- Distortion set @ 85
- Sharpness @ 50
- Light Falloff @ 40
- Noise Reduction Luminance @ 30
- Noise Reduction Details @ 70
- Noise Reduction Color @ 30
These settings differ from Capture One Pro’s defaults and, as mentioned above, they are simply a starting point. You will need to adjust them based on the image. One more note – the default sharpening in Capture One Pro has a tendency to be too strong, so you may want to lower its radius while raising its amount.

Notes
- With the Mavic 2 Pro DJI added Dlog-M, the 10-bit 4K H.265 Log format. This is huge. The Phantom 4 Pro was limited to 8-bit H.264 and while both drones have a 100 Mbps data rate the Mavic 2 Pro is far better for video. Its H.265 codec is much more efficient and that coupled with its 10-bit capture eliminates the banding issues prevalent in Phantom 4 Pro video.
- The Mavic 2 Pro offers two modes for Dlog-M 4K video capture, FOV and HQ. FOV, Field of View, covers the full field of view of the drone, comparable to a 28mm lens (35mm equivalent). HQ, High Quality, covers the field of view of a 40mm lens (35mm equivalent.) HQ is a direct pixel to pixel readout of the sensor. It is sharper and more detailed than FOV. FOV does some pixel binning and as such it needs more sharpening in postproduction.
- Capturing in log for video and in RAW for still images means that footage and photos are not corrected for lens distortion. They will need to de-barrelized in postproduction. The barrel distortion is clearly seen in video FOV mode. Clips in HQ mode are pretty well corrected as is. I have found that Film Poets’ free plug-in works great for correcting the FOV clips. DJI has also published manual correction instructions for most NLEs in the Mavic 2 Pro User Guide. For still images, as mentioned earlier, converting from RAW DNG in a program like Capture One Pro provides all the tools needed to correct and finesse each image. See above for more information.
- On all DJI drones I recommend changing the sensitivity of the gimbal and the drone pan to allow for more cinematic camera movement. A Gimbal Pitch Speed of 10 and a Gimbal Pitch Smoothness of 20 are good starting points. The drone pan is controlled in the Advanced Settings of the MC Settings tab. I set the EXP>Normal>Rotate Right Rotate Left to 0.20.
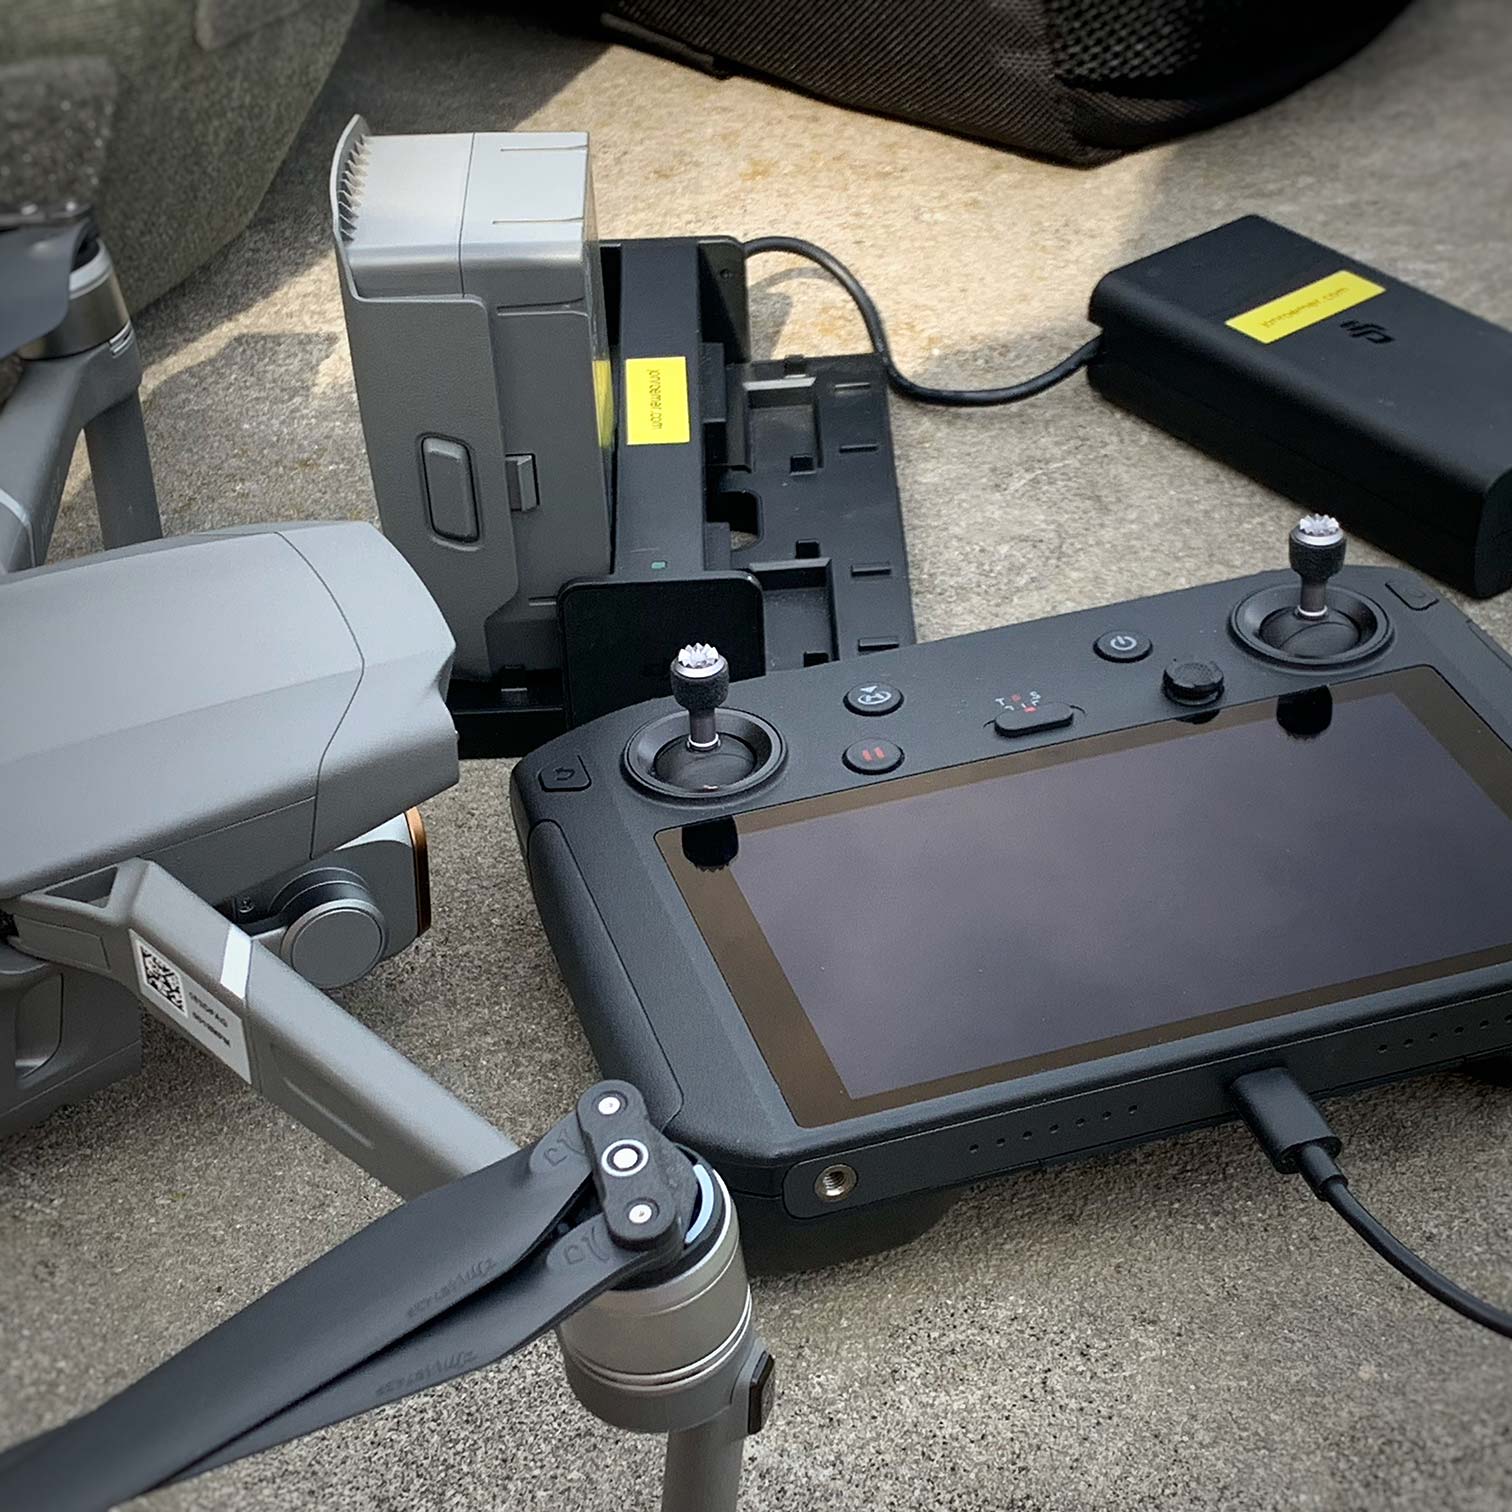
- I highly recommend DJI’s Smart Controller for the Mavic 2 Pro. It is an all-in-one controller which creates an easier to use, more professional kit than DJI’s consumer controller. The consumer controller requires the use of a smart phone or tablet and attachment cables. The Smart Controller does not. It has all the self-contained functionality of the DJI Phantom 4 Pro+ controller and more in a smaller form factor. Its high-bright touchscreen at 1000 nits is about twice as bright as most iPhones. I have had no issues using the Smart Controller’s screen in full daylight.
- One design advantage of the Phantom 4 Pro versus the Mavic 2 Pro is that has much taller legs. They are about 4″ high versus ¼”-2″ on the Mavic 2 Pro. This gives it better clearance on takeoffs and landings. There are third-party accessories to extend the Mavic 2 Pro’s legs (I haven’t tried them.)
- The Mavic 2 Pro has its own design advantages versus the Phantom 4 Pro. In addition to its folding design it has a front facing gimbal. This allows for all of the regular camera movements plus the option to tilt the camera up 30°. Once enabled in the software you are no longer limited to 0° to -90°. It does open new possibilities when it comes to filming. The Phantom 4 Pro has a bottom mounted gimbal which must live within the 0° to -90° range. That positioning also makes the Phantom 4 Pro more likely to gets its propellors in the frame while filming if the drone is moving forward at higher speeds.
Videos with Mavic 2 Pro Footage
Solar Array on YouTube, Vimeo and Instagram.
this is great info and timely. Thanks for sharing. Not long ago I replaced my P4P with the M2P and the more I use it the more superior it feels. Thanks for so many starting point settings earned through experience.
Art –
Thanks! Glad it was helpful.
Interesting to hear you feel the same way. I don’t miss my P4P or its bulk when packed up with additional batteries.
One thing I didn’t mention above is filters. More important for video than stills. Swapping UV and ND filters on M2P is so much easier on than with the P4P. I always found it a harrowing experience on the P4P and hard to do in the field. The chance of a filter freezing up on the P4P was ever present.