Update 06/01/17 – My thoughts and recommendations on the new Phantom 4 Pro & 4 Pro +: Phantom 4 Pro – Thoughts & Best Image Settings.
Update 11/12/16 – A Deep dive into the video image quality settings on the Phantom 4: I Can See Clearly Now.
______________________
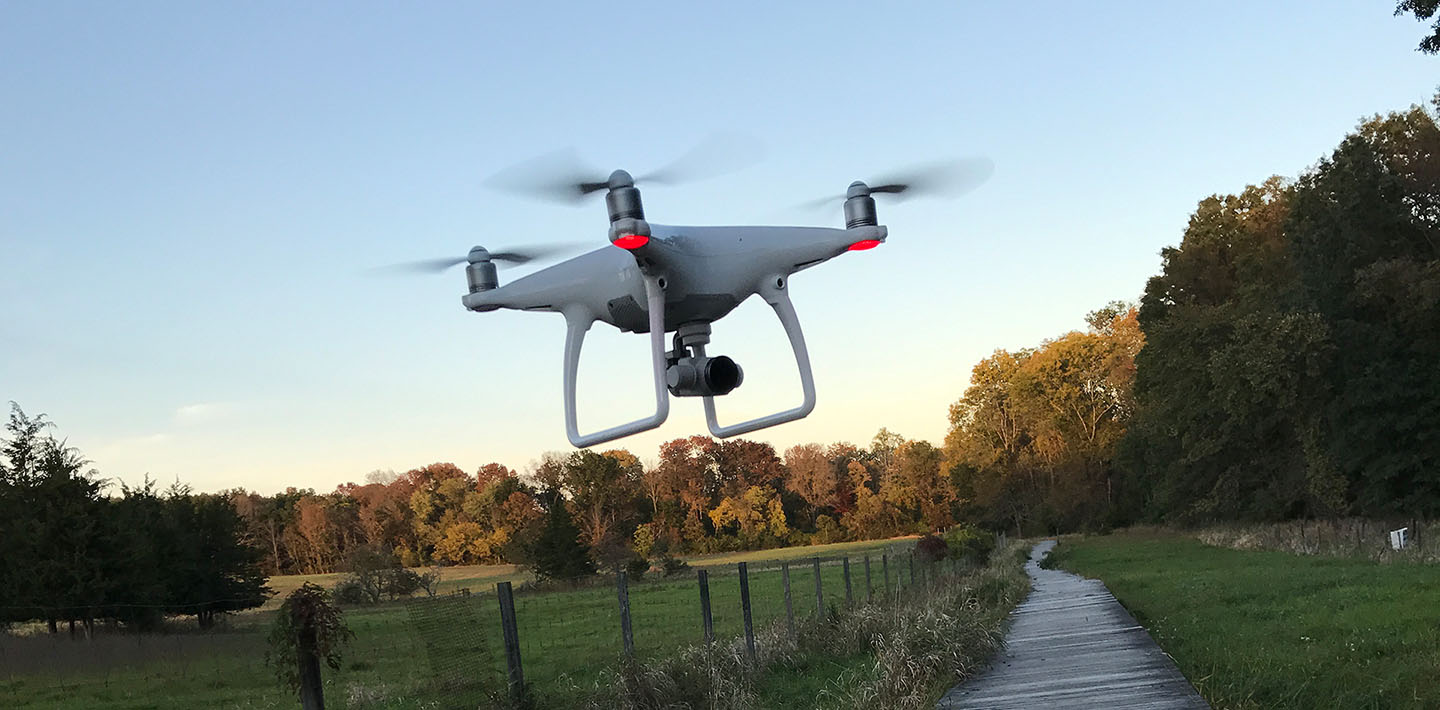
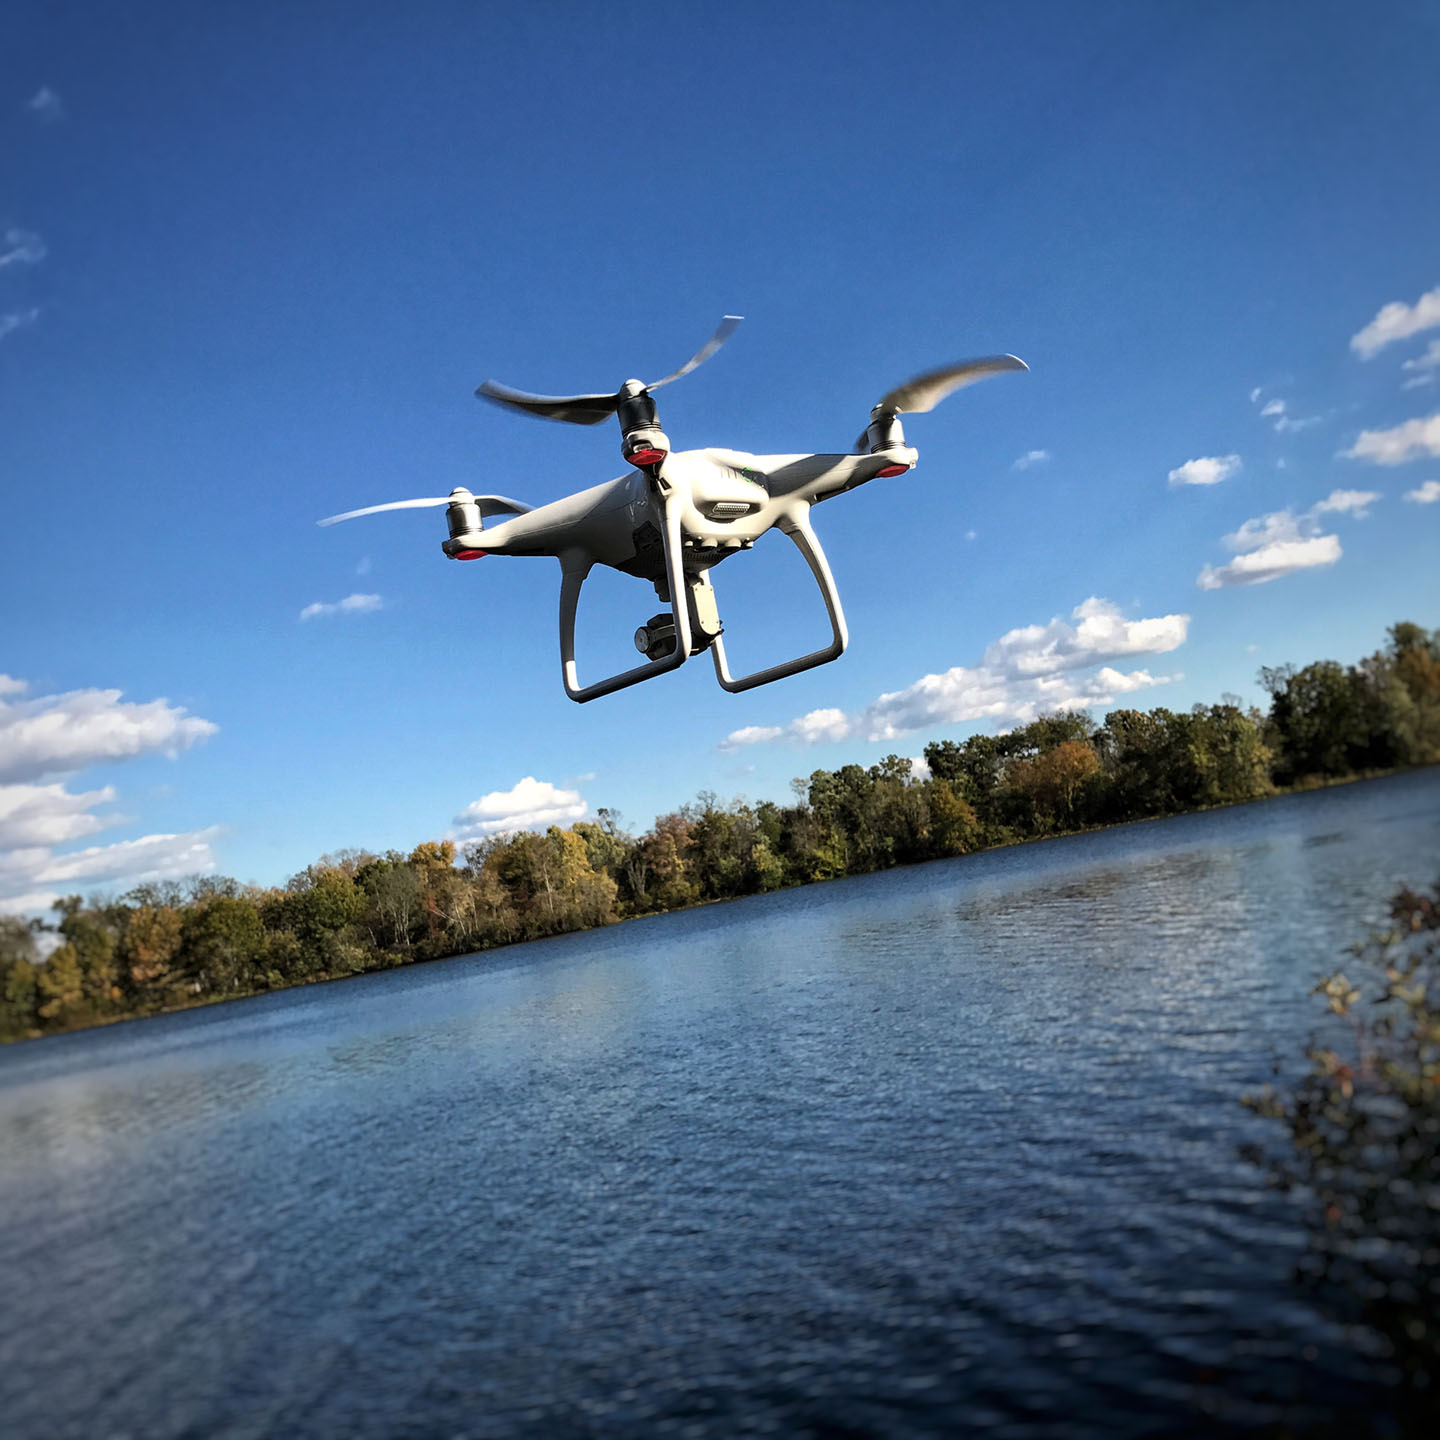
Into the Woods – filmed with a DJI Phantom 4
In my last blog post I started to describe my experience with the DJI Phantom 4, a 12MP still and 4K video capable drone, which I purchased in August. As mentioned in the post, I crashed it a few days into my Maine trip putting a crimp in my plans to spend that time testing it.
Now that I have had the Phantom back for a month, the testing has resumed and I feel as if I am finally hitting the sweet spot in the camera settings. The Phantom 4 is turn-key drone solution. The quadcopter has a built-in gimbal and camera, and it comes with a controller. All you need to add is a smartphone or a tablet running a DJI app to be up and flying.
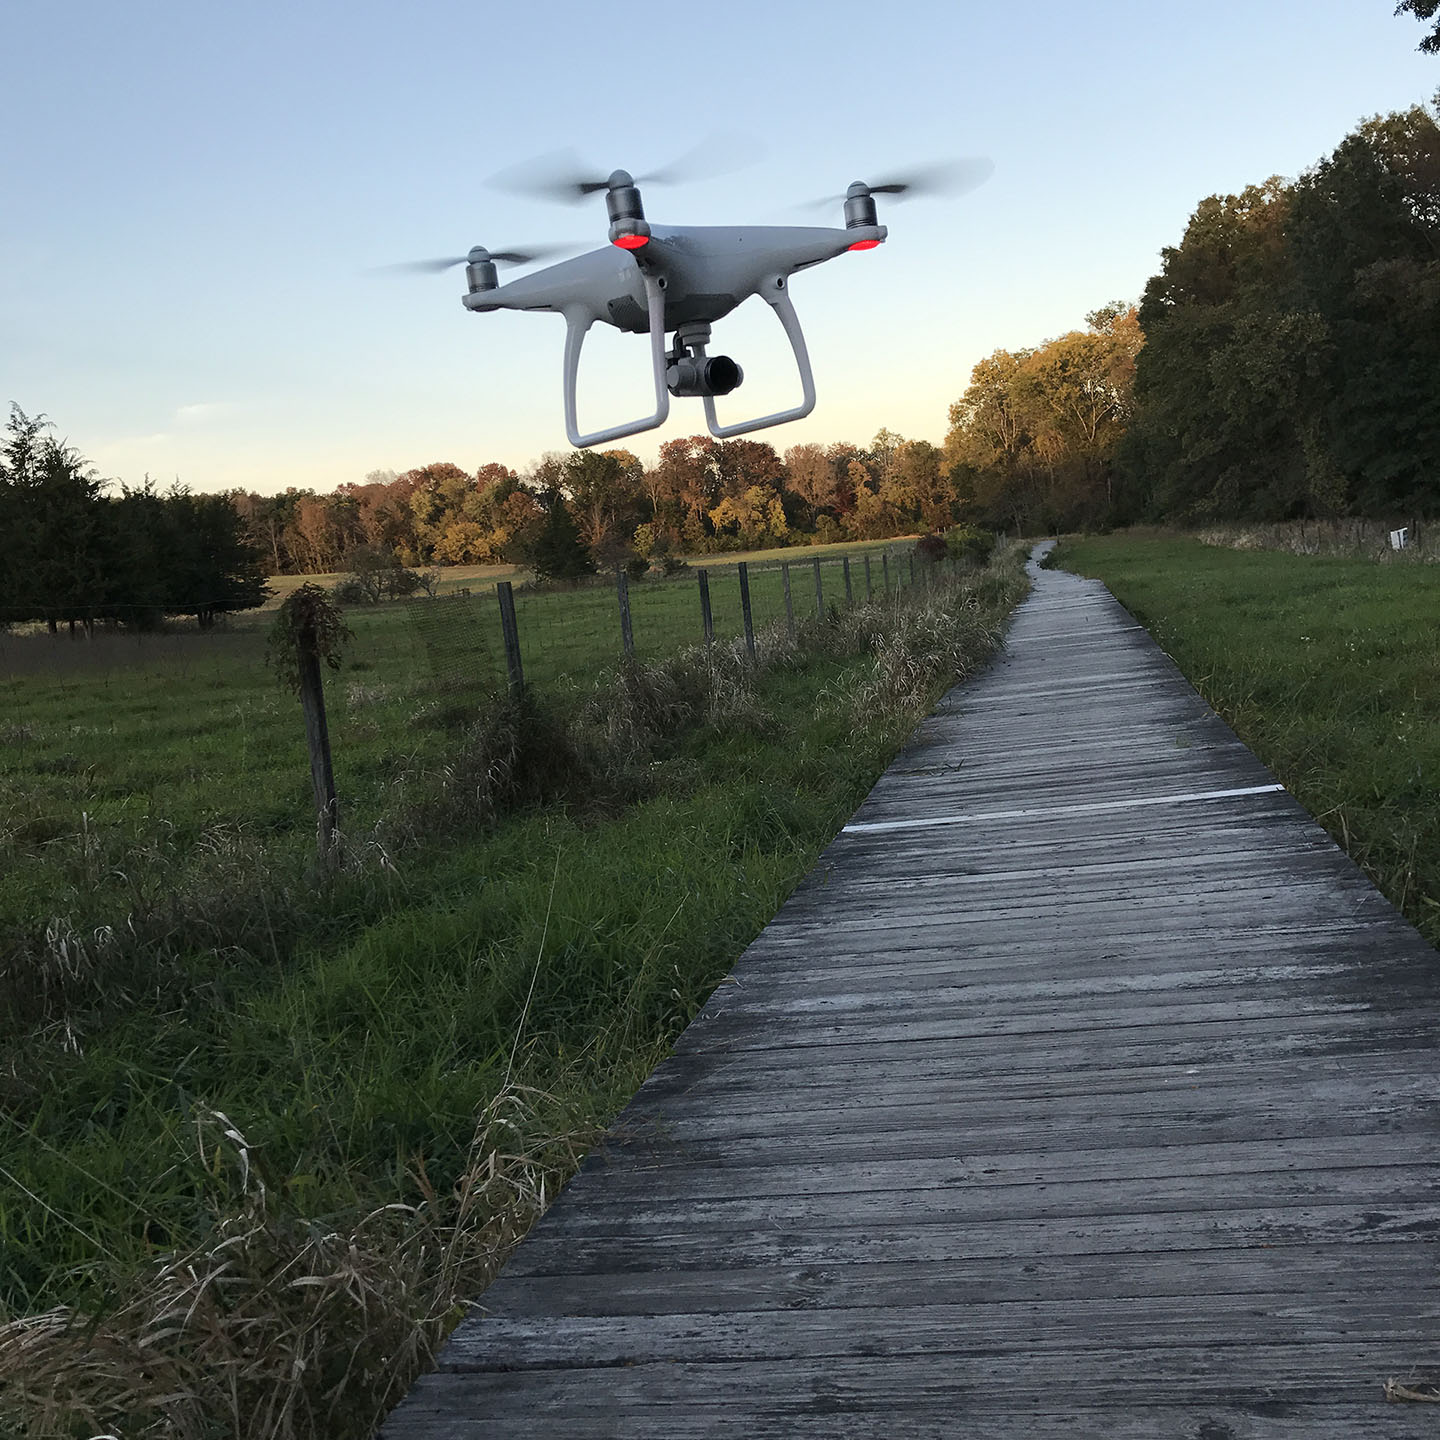
The Phantom 4’s camera is the equivalent of a very nice cell phone camera. It can do the job but it does not have great dynamic range nor does it fully live up to the resolution of its 4K video or 12 MP stills capture. Despite that, the combination of the camera + gimbal + drone and their integration with the controller makes for an amazing shooting and filming experience. You are flying a camera around – it’s not perfect but at the same time it is truly amazing.
The bulk of my testing has been in regards to filming video with the Phantom 4. The stills side is relatively simple – shoot RAW and process in the convertor of your choice. You don’t need to concern yourself with too much else.
I have found that Capture One does a very good job processing the Phantom 4’s RAW DNGs.
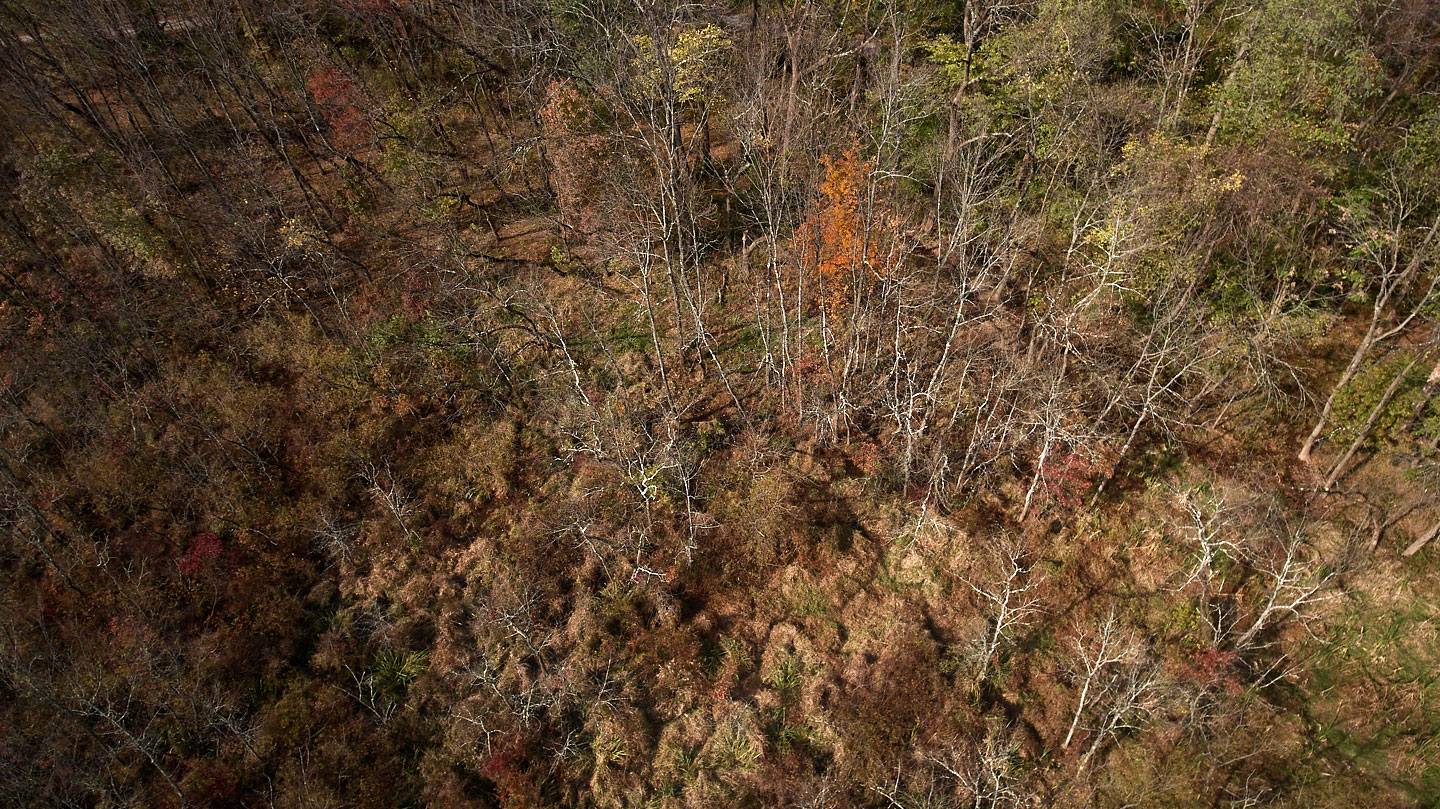
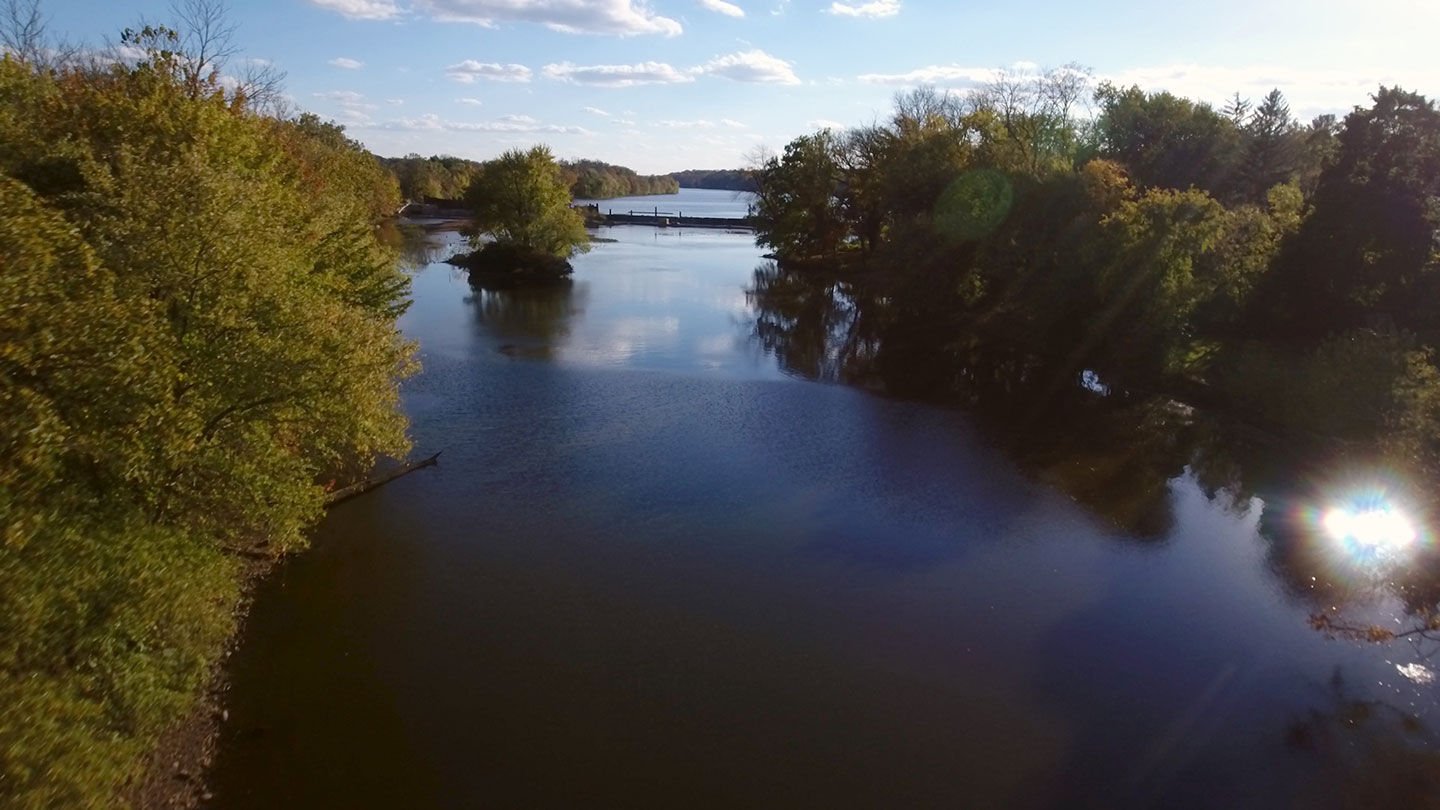
The image above was shot with a DJI ND16 (4-stop light reduction filter) on the camera. The filter is not needed when shooting stills but I had it on for video. I suspect that without it, using only the Phantom 4’s UV filter, I would have gotten an image with more even exposure across the frame and better edge-to-edge sharpness.
NDs are one of the necessities of filming video because it is one of the few tools you have to control exposure. In general, your shutter speed is locked, you don’t want to go too high in ISO, and, as is the case with the Phantom 4, the lens aperture is fixed at f/2.8.
Without ND you cannot achieve a shutter speed close to or at the optimal 180 degree shutter angle. In simple terms this is the inverse of your frame rate and it ensures that there is some motion blur to make the footage feel natural to the human eye. If your frame rate is 24 fps then the 180 degree shutter angle is 1/48 of a second. Some cameras, like the Phantom 4’s, do not have 1/48 so you go with the next closest setting, 1/50 of a second.
Other hurdles to be overcome in video work with the Phantom 4 are determining the best set of picture profile options, the best resolution settings, and standardizing on a set of ND filters (brand and model.) This is not unlike filming with a DSLR but it ends up being critical with the Phantom 4 because its video files are so brittle. Manipulate them too much in post and they will break.
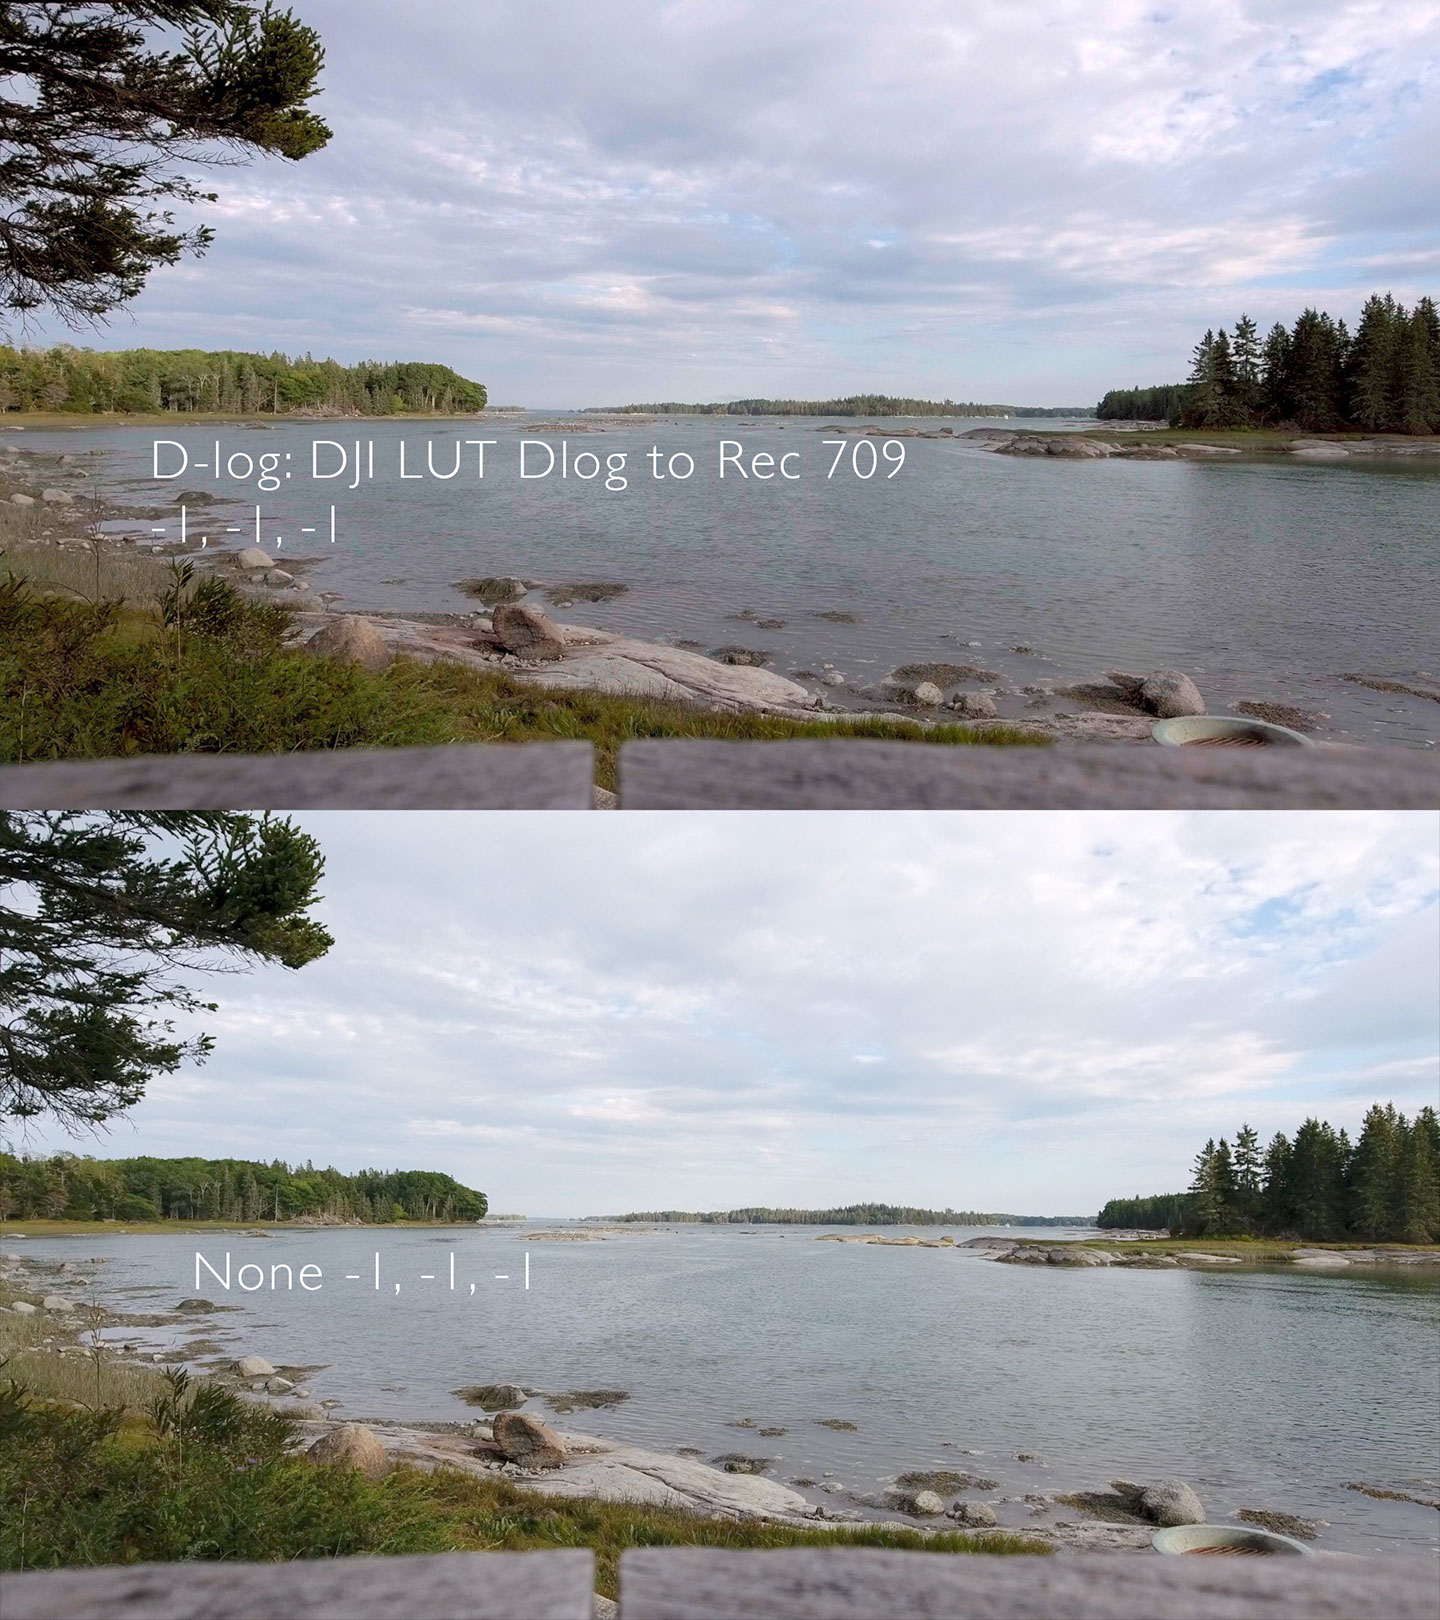
I have tested all of the Phantom 4’s flat profiles along with “None”, its Rec. 709 setting. I have also started evaluating ND filters from DJI and Polar Pro. The following are the conclusions I have drawn and what fits my workflow. Your needs may be different, your tools/NLE may be different.
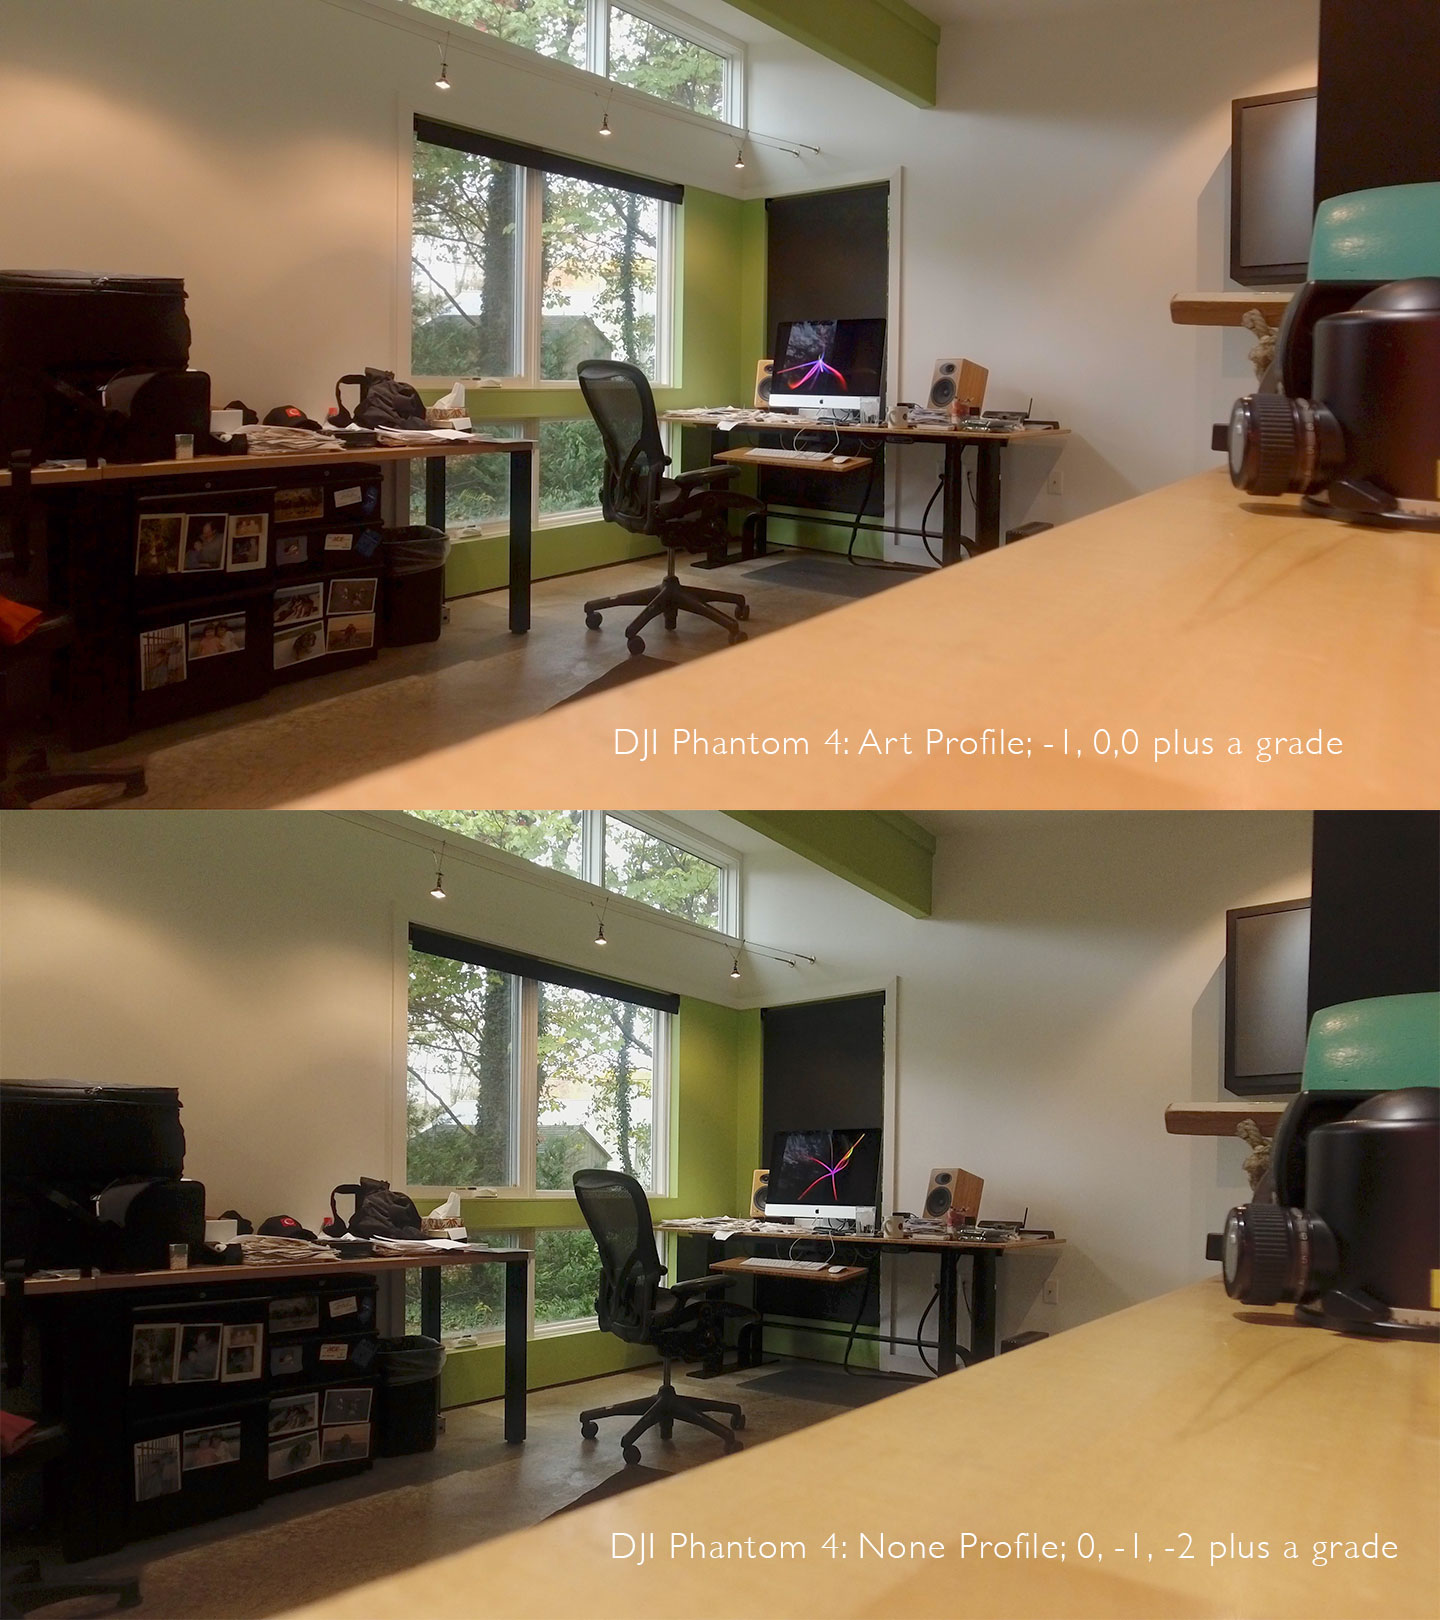
- I cannot get any of DJI’s flat Color Profiles to fit within my workflow. D-log, Cinelike, and Art all cause odd color shifts and each one is quick to show banding in gradients like the sky and water. It doesn’t take much, optimize the footage in FCP X to get from a flat profile to more lifelike and the shadows tend to go red and banding often appears. Plus, the image’s midtones never lose that slightly posterized look.
- I have tried LUTs from DJI and from Ground Control with DJI’s D-log footage. They do help but I find I get better results using DJI’s “None” Picture Profile. The color overall is better and I don’t see banding as quickly. You won’t get quite the dynamic range with “None” but there are ways to work around that in your NLE.
- Beyond the Picture Profile, there are settings from -3 to +3 for Sharpness, Contrast, and Saturation. As mentioned up top, when you are filming you want some motion blur in the image, that’s the reason for the 180 degree shutter angle.
If you are able to achieve a 180 degree shutter then I recommend leaving Sharpness at 0. If you are not able to get close to 180 degrees in the shutter angle then a Sharpness setting of -1 is better. I’m going to amend this a bit – much depends upon the resolution at which you are filming. At 4K with a 180 degree shutter “0” for sharpness does work well. I have done some further testing of 4K vs. 2.7K. 2.7K does look more detailed. So, I’d recommend “-1” for Sharpness if filming at 2.7K with a 180 degree shutter.
- Saturation and Contrast are somewhat to taste. Given the brittle nature of the Phantom 4 video codec I recommend getting the image as close to finished as possible in the camera. A Contrast setting of -1 is a good start. It gives you a bit of headroom. It’s not yet clear to me how much you gain much by setting the Contrast to -2 or -3. Yes, the image is flatter but you usually end up crushing the shadows in post to make the image more lifelike.
- I also recommend starting with a Saturation setting of -1. A setting of 0 with the None Camera Profile is too high, it tends to oversaturate everything. -1 leaves you at point where some images are fine and some may still need a bit less saturation. You can tamp that down in post or drop to -2 in Saturation in the camera.
- You’ll want a ND 8 and a ND 16 in your kit if you are filming and you want your footage to look more cinematic. If you are filming near water, snow, into the sun, or at a reflective man-made structure then a ND 32 will be helpful to have on hand. If you want the ability to finesse the settings in lower light then a ND 4 will help.
- DJI’s NDs are very much like its lens cover/UV filter which ships with the camera. They are available in ND 4, ND 8, and ND 16. They come unmarked which is annoying. You’ll want to ID them with a permanent marker or a label. They weigh the same as the UV filter and they fit the Phantom 4’s gimbal lock. I have not had any issues getting them on or off but others online have reported that they often lock up on the lens’ filter threads. I am still testing them. So far, they appear to lose sharpness on the periphery of the image and they seem to cause some prismatic coloring/aberration when the sun causes specular highlights.
- Polar Pro’s NDs come in different models. The Gunmetal series are available in ND 4, ND 8, ND 16, and ND 32. The Shutter Series are available in ND 16, ND 32, and ND 64. Polar Pro says the Shutter Series are multi-coated making for a better corrected image with less lens flare. The Polar Pro filters are well marked, more robust than DJI’s filters, and they have a small lip making them easier to attach and to remove. They weigh a gram or two more than DJI’s filters but the Phantom 4 gimbal appears to handle them with ease. Since the Polar Pro filters have that lip they do not fit DJI’s gimbal lock. Polar Pro makes their own gimbal lock which fits their filters and DJI’s. In testing, I was seeing an overall color shift when comparing Polar Pro’s Gunmetal Series to its Shutter Series. Polar Pro’s Customer Service has told me that that should not be the case. They have been very responsive and they are sending me a new set of the Shutter Series filters to try out.
From what I have seen so far, filming in 4K, even with its low data rate, is preferable to filming in 2.7K or 1080 even if the output is 1080. The footage is more detailed. <- I have crossed out my initial thoughts since with further testing I found that 2.7K was significantly sharper and more detailed than 4K on the Phantom 4. See this blog post for a deep dive into the Phantom 4’s video image quality – I Can See Clearly Now.
To sum up the above, my experience to date has been treat the Phantom 4’s camera much like a DSLR’s, but with even more caution. Picture Profile “None” with Custom Settings of 0, -1, -1, for Sharpness, Contrast, and Saturation has worked well as a starting point if filming in 4K and with -1 for Sharpness if filming in 2.7K. You can experiment with other settings. Odds are it will depend upon the subject matter. You should also shift to -1 on the sharpness scale when filming in 4K if you are not able to get close to a 180 degree shutter angle.
Notes about Into the Woods
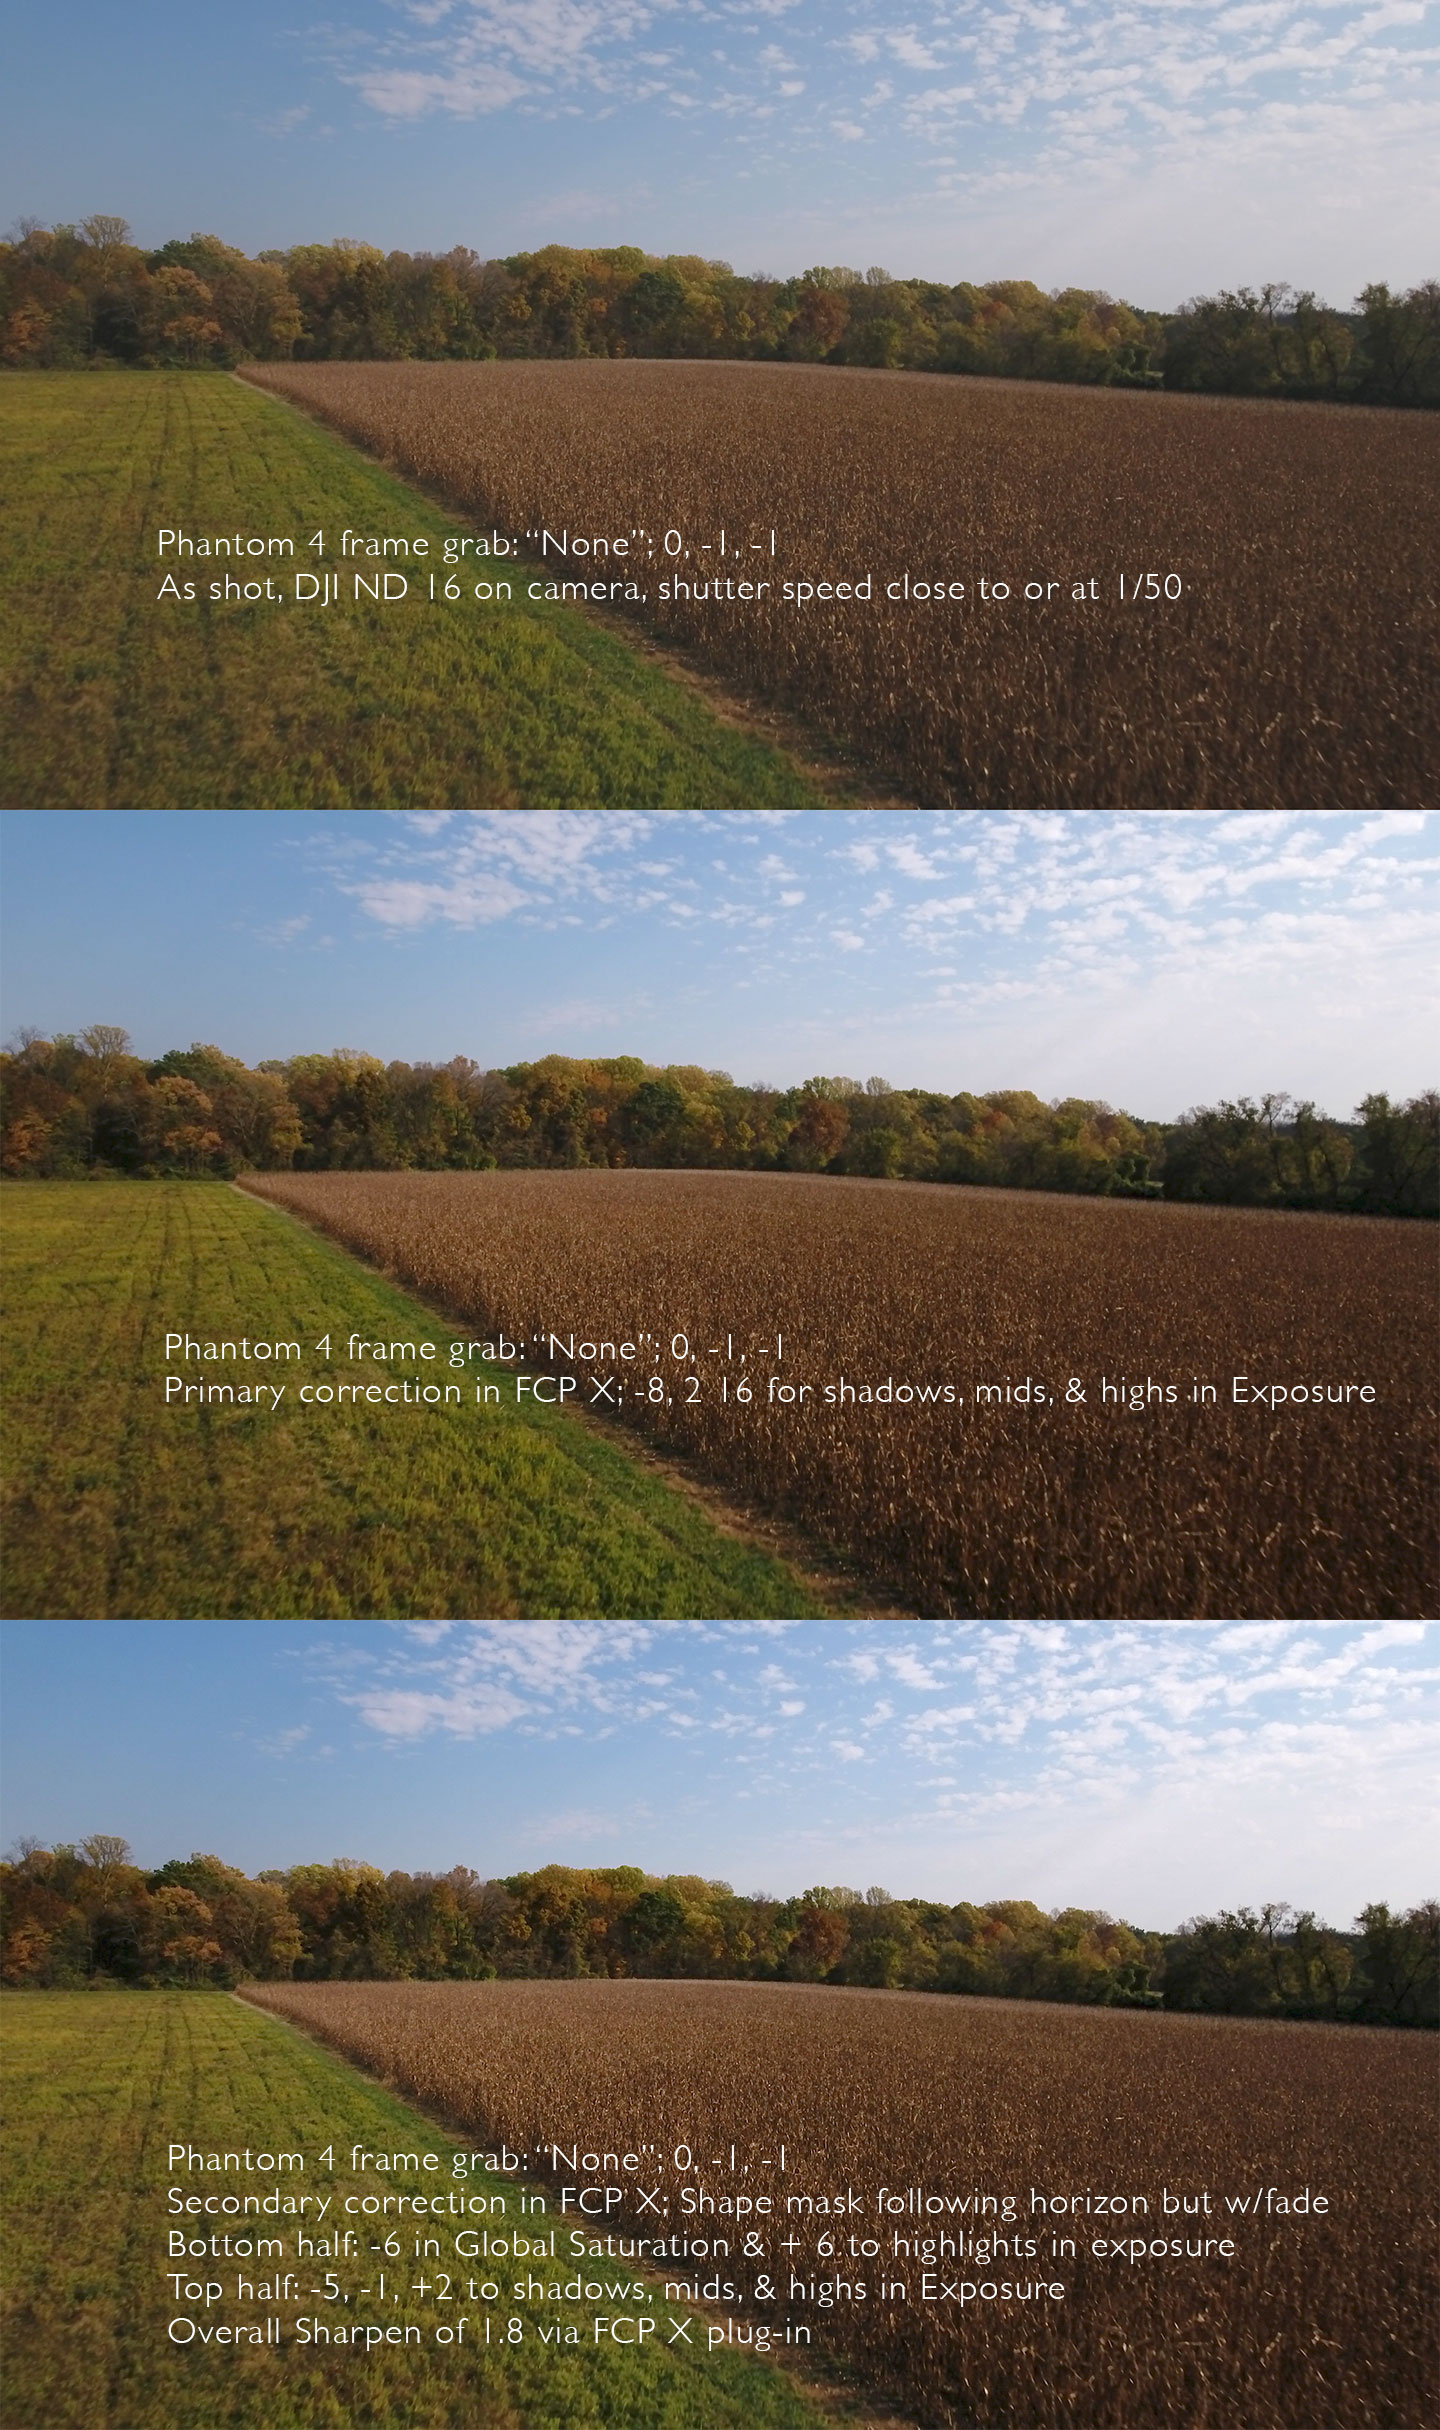
Into the Woods was filmed with the camera set to Picture Profile “None” and 0, -1, -1 for Sharpness, Contrast, and Saturation. The shutter was at or very close to 180 degrees through the use of a DJI ND 16 filter. One clip did not have this filter and it looks a bit less filmic to me. It is the field seen at 00:16 – 00:20. I don’t recall what the shutter speed was but I’d guess it was in the range of 1/800 – 1/1250.
None of the clips needed stabilization in post but most got a bit of sharpening to compensate for Vimeo’s internal conversion smoothing everything over. A few clips were sped up a bit in FCP X.
The footage were filmed in and around a stand of old-growth forest in Princeton, NJ; taking advantage of the almost peak fall colors. Locations included the Institute Woods, the Updike Farmstead, and the Rogers Wildlife Refuge.
Music: A Stranger’s Map of Texas, by Mark Chapman & the Woodpiles, via Vimeo’s Music Store.